How to Reset Razer BlackShark V3: A Complete Guide
Learn How to Reset Razer BlackShark V3 to fix connection, audio, and microphone issues and restore smooth gaming performance easily.
- Turn headset completely off
- Press and hold power
- Wait until LED flashes
- Release button carefully
- Reconnect and test headset
Razer BlackShark V3 is a high-quality gaming headset with a competitive advantage in terms of the high quality of sound. Although it is highly designed, users can sometimes experience problems like poor sound quality, unresponsive buttons or connection problems. The most common method of solving these glitches is to do a reset. A good reset will re-calibrate the headset, put it back to factory settings and the headset will run both casually and competitively with ease.#
Knowing when one needs to reset can save time and it can help avoid frustration. The most common would be audio drops, connection issues, or software incompatibilities in Razer Synapse. Determining whether a reset is the most appropriate solution will be made possible by identifying these warning signs. Being aware of the right time to reset the headset can make sure that the device stays in optimal operation and at the same time lasts longer.
Recognizing Common Issues That Require a Reset
The most widespread issues encountered by the users of BlackShark V3 are audio distortions or abrupt dropouts. These problems may take place because of the temporary glitches in internal memory of the headset. A reset would be useful in restoring the proper audio calibration, and removes the possibility of static or muffled noise. Continuous checking of audio performance will assist the users in identifying small issues before they become bigger to ensure that the problem can be dealt with immediately through a simple reset process.
Connection issues may also mean that it needs to be reset. The headset can not connect to the PCs, consoles, or wireless adapters, and this interrupts the gameplay. Restarting the device re-establishes the protocols of connection and maintains a stable communication between the headset and the device. Also, non-responsive buttons, including volume and the mute mic button, can use a reset. Handling these problems at an early stage helps to avoid the deterioration of the performance in the long run and maintain the usability.
Step 1: Disconnect the Headset
The initial action to do the reset of your BlackShark V3 is to unplug it to all the devices that you have connected. When it comes to the usage of USB or 3.5mm cables, be careful that they are plugged out. To wireless users, take out the dongles or adapters on their ports. Disconnection is to make sure the headset is completely inactive and not interfering in the process of reset. Total disconnection preconditions successful reset without any incomplete or unsuccessful procedures which may aggravate the current problems.

One should also wait some seconds after disconnection. This delay is necessary to get rid of any remaining power or active signals and make sure the headset is completely offline. To reset the device, the user should not attempt to reset it when it is partially powered. This precaution will enhance the success of the later actions and ensure that the headset will be prepared to begin with a clean start when re-plugged to your gaming system.
Step 2: Perform a Power Cycle
Most minor problems can be resolved by an ordinary power cycle and have no effect on saved settings. To do so, press and hold the power button of the headset between 10-15 seconds. This will cause the machine to power off and erase temporary errors in memory. After release, wait approximately 10 seconds then turn the headset back on. This approach usually fixes small glitches like temporary sound or button lags and is thus a fast and efficient initial solution.
Power cycling is also useful in recalibration of internal hardware components. This will clear temporary errors or miscommunications in the system of the headset. A power cycle is enough to restore normal functionality without the need to reset the software to many users. This step contributes to the best performance of gamers and helps them minimize the chances of constant problems disrupting their gameplay.
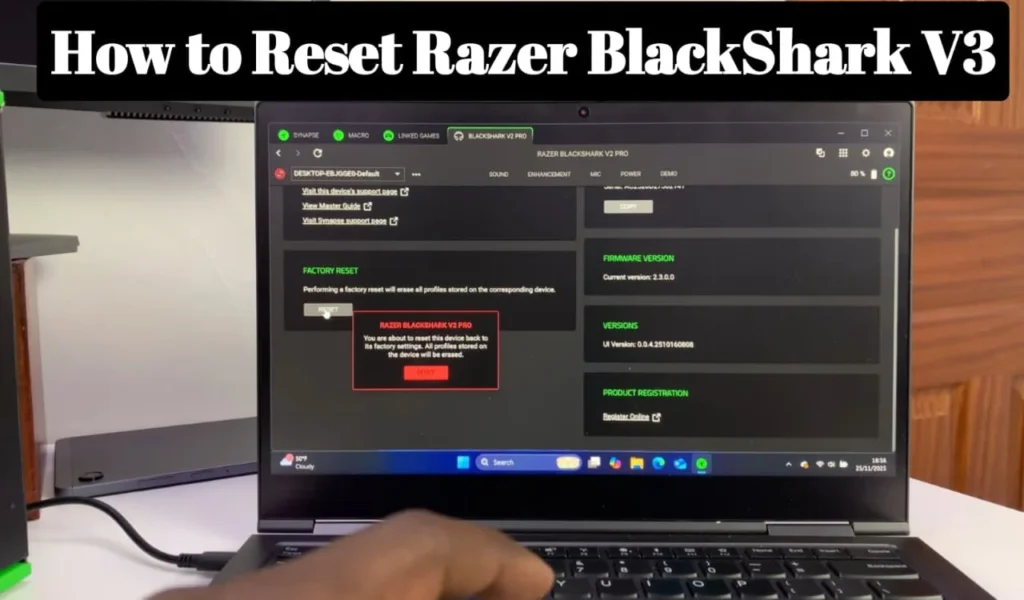
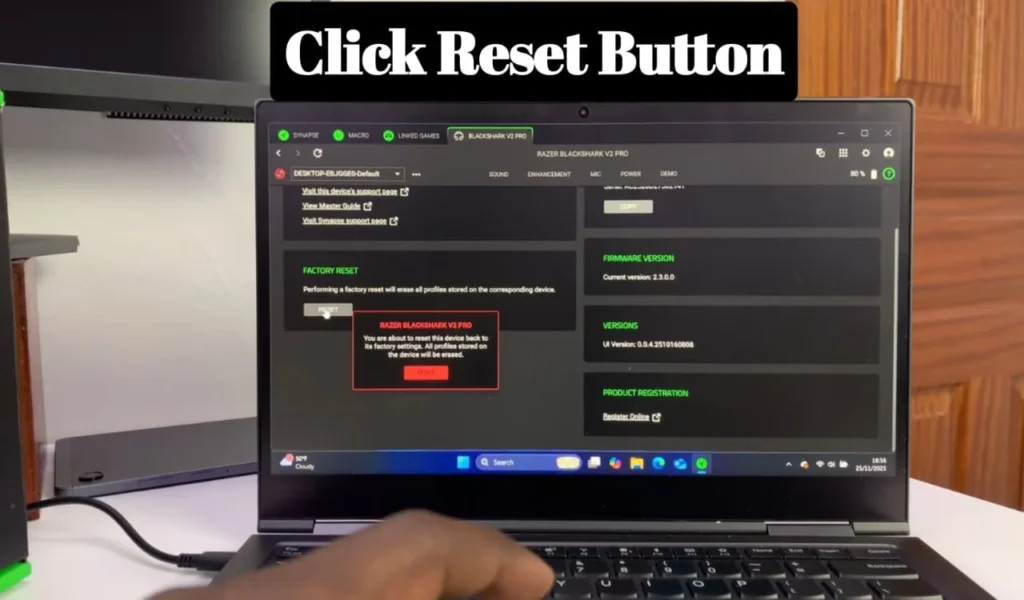
Step 3: Reset Through Razer Synapse
Razer Synapse has an in-built software-level reset option. Launch the Synapse application and go to the section of devices. Take your BlackShark V3 headset and find a Reset or Factory Defaults button. The confirmation of this step puts all audio profiles, button settings, and custom settings back to default. This will make certain that any problems with the software level are completely overcome and give you a fresh start to recalibrate your headset to use again.
The reset of the headset using the Razer Synapse is also compatible with the firmware updates. Conflicts between customized profiles and the latest firmware releases can be solved by re-booting the software. By restoring the gadget to factory specifications, the user destroys possible bugs that come about due to unaligned settings. This approach will ensure that the headset works properly without losing the ability to use the advanced audio and.
Step 4: Firmware Reset
In some cases, one needs to perform a firmware reset in case of intractable issues. The firmware updates may sometimes be corrupt and may result in severe malfunctions or loss of connection. In order to reset the firmware, update Razer Synapse. Download and install the newest firmware with caution and take on-screen instructions. Disconnection in the process should be avoided since the interruption can only result in more complications and therefore, this step is very important in ensuring long term reliability.
An effective software reformat can recover the internal software of the headset. The step fixes those problems that cannot be resolved only through power cycles or software reset. It is wise of users to make sure that their computer or console is stable at the time of updating. The process of the firmware reset usually fixes the most serious technical issues and guarantees that the BlackShark V3 will be able to perform to its full potential, providing excellent audio quality and stable connectivity.
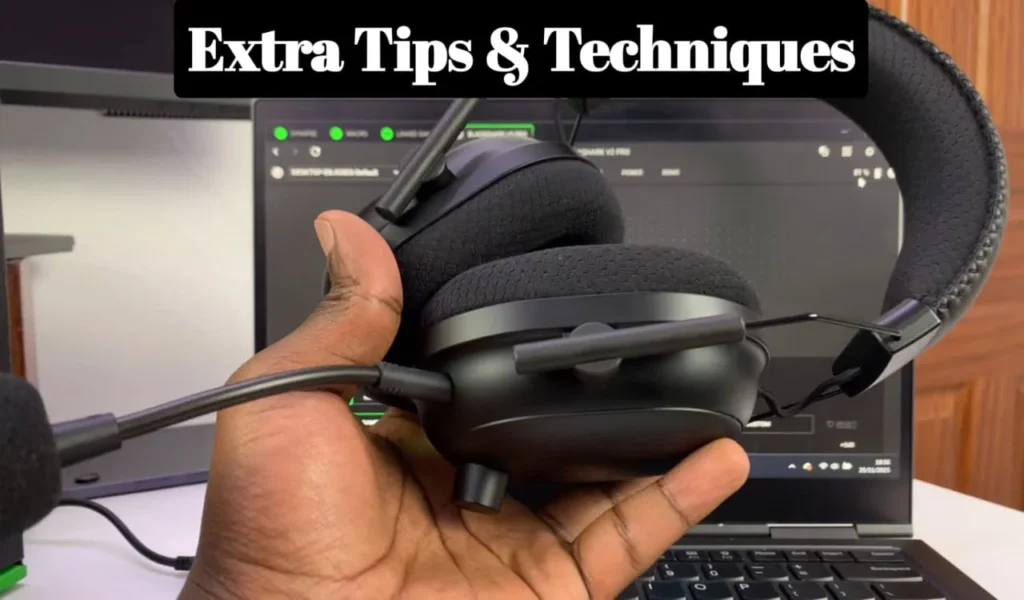
Additional Troubleshooting Tips
There are minor problems that some users can experience even after a reset. The first step is to check the headset cables in case they are damaged or unscrewed. Bad cables are usually similar to headset issues within the head and are easy to replace. The update of Razer Synapse is also a guarantee of software compatibility and the absence of conflicts with other programs as well as the proper functionality of all options such as THX Spatial Audio and mic settings.
It is possible to test the headset on several devices to isolate device-related issues. In case of problems, it can be resolved by reinstalling Razer Synapse or updating the drivers of the device. These measures are compliments of resets and they guarantee the headset to be reliable in PCs, consoles or mobile devices. Incorporating these troubleshooting techniques along with frequent resets, gamers will be able to experience seamless immersive audio quality.
Care Tips Table
| Tips | What To Do |
|---|---|
| Power off headset | Hold power button until fully off |
| Disconnect devices | Unplug USB dongle or cable |
| Soft reset | Hold Power + Volume Up for 10–15 seconds |
| Reconnect headset | Plug dongle back into PC/console |
| Re-pair device | Select headset again in audio settings |
My Personal Experience
I recently faced a frustrating situation when my Razer BlackShark V3 suddenly stopped connecting to my PC, leaving me unable to use it for gaming or calls. I tried reconnecting it multiple times, restarted my computer, and even checked the audio settings, but the sound kept cutting out and the microphone refused to work properly. The whole situation was really annoying because I rely on this headset for both communication and immersive gameplay.
Finally, I decided to reset the headset by carefully following these above steps. The process was straightforward, but I made sure to complete each step slowly and correctly to avoid any further issues. After completing the reset, the headset immediately stabilized, and all the audio and microphone functions started working perfectly, just like it was brand new.
You May Also Like
FAQs for How to Reset Razer BlackShark V3
Conclusion
The process of resetting the Razer BlackShark V3 is a good way of fixing numerous technical problems. Users can heal their headset by going through the process of device disconnection, power cycle, software reset with Razer Synapse, and updating firmware when required to get the headset back to its optimal functionality. Periodic upkeep and proper resets avoid the recurrent issues and ensure smooth gaming experience with the crystal-clear sound and the stable connection.
By using resetting and correct troubleshooting, you will guarantee the durability and stability of your headset. Cable checking, software updating, and inter-machine testing are supplementary to reset processes because they are the most effective. These tips can keep the headset in good condition whether it is used to play casually or professionally. BlackShark V3 always provides well-maintained and high-quality audio, excellent communication, and reliable performance that would make every gaming experience better.