How to Reset Cooler Master MH751 Gaming Headset
Learn how to reset the Cooler Master MH751 gaming headset with easy step-by-step instructions to fix sound, mic, or connection issues quickly.
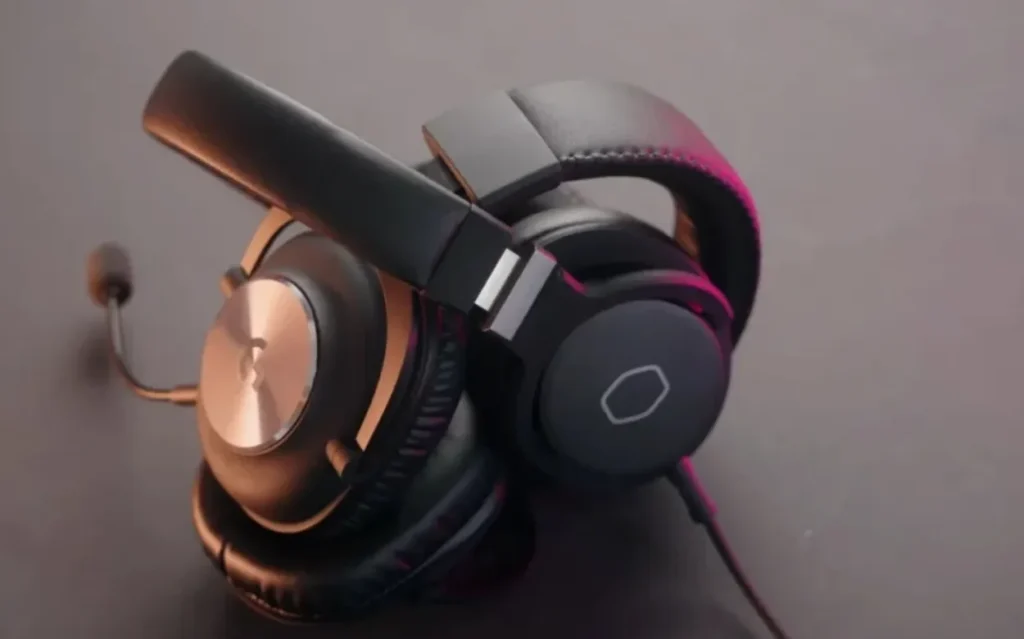
Cooler Master MH751 is a wired gamer headset that comes with stereo sound experience, lightweight comfort, and a detachable microphone that provides the gamer with long gaming hours. Although it is quite sufficient in reliability, there are occasions when the user experiences distorted audio, the microphone is not operational or the headset is not recognized. The problems tend to be that of driver conflicts or transient software glitches and not hardware failure. A reset of the headset can be a good solution to recover normal performance and stability.
Proper reset can be used to clear any incorrect settings of audio and does refresh system sound settings which can become invalid with time. Inaccurate sound output, the microphone does not detect the sound, the audio turns unpredictable, often the reset is the fastest way to fix the problem. This tutorial will show you how to get the Cooler Master MH751 back on the right track after it suddenly stopped providing a balanced sound, the ability to communicate with a voice clearly, and to game smoothly.
Why Reset Your Cooler Master MH751?
The most frequent excuse to restart the Cooler Master MH751 is the continued audio problems in the middle of the game. The users can be exposed to crackling sounds, low level of volume, or left and right channel imbalance. Most of these issues are usually caused by an audio driver that has been corrupted or system sound configuration and background programs. The resetting process assists in clearing out such conflicts which reinstates the default sound behavior of the headset to ensure headset audio is stable and accurate.
The other significant cause of problems is associated with microphones. The removable microphone can either cease to work, produce a low voice, or even be unrecognized by voice chat software. These problems are normally occasioned by wrong input settings or interim driver glitches. A reset can also be used to refresh audio input settings and can assist in ensuring that transmission of voice is clear during a gaming, streaming or an online communication session.
Step 1: Disconnect the Headset Completely
The first step is to plug out the Cooler Master MH751 through your PC, console, or controller. Make sure that the connector of 3.5mm and any inline controls are disconnected. When troubleshooting it can be important to ensure that the headset remains connected as it will avoid system audio settings being reconfigured and leaving the incorrect settings running in the background.
Disconnection: Wait a few seconds and move on. This brief delay is given to the operating system to release the audio drivers and empty sound data in the cache. Unplugging is particularly crucial when gaming is over, and it serves to get rid of small software bugs and precondition the headset to a fresh start.
Step 2: Check and Reset System Audio Settings
Go to your system sound options and delete the Cooler Master MH751 as an option either to play sound or record sound. Wrong choice of default device or changed input settings may result in sound or microphone problems. Unsetting these selections also makes sure that there are no conflicting settings that are active.
After the clearing of settings, then start your system to refresh audio services. Rebooting also enables the operating system to clear sound preferences completely and eliminate errors in the cache. This is a must-have step because otherwise the same erroneous settings will be automatically reloaded when the headset is reconnected.
Step 3: Reconnect and Reinitialize the Headset
Once again, once rebooted, replace the Cooler Master MH751 with your device by not using splitters or adapters. Make sure the connection is tight and not loosely connected so as not to lose signals. It would be desirable that the system would automatically recognize the headset and restart default audio drivers without manual installation.
Give time to enable the system to set up the head set. In the process fresh audio profiles are allocated and input-output pathways are reinstated. This is a successful solution to most sound imbalance and microphone detection problems and effectively reinstates the software environment of the headset.
Step 4: Test Audio and Microphone Performance
After reconnection, playback audio in system sound settings and ensure that the MH751 is configured to be the default playback system. With the correct selection, games and applications will be properly directed through the headset where the sound gets directed.
Test the microphone, playing the music or voice telephone application. Voice input needs to be well articulated. There are also inline volume and mute controls which should be tested to be responsive. A successful testing is an indication that the reset procedure is complete and the headset can be used to play a normal game.
Optional: Update Audio Drivers
In case problems remain even after resetting up, then revising the audio drivers of your system can be a solution to further compatibility problems. New drivers typically contain fixes to bugs, as well as better headset support such as the MH751.

Restart and verify sound and microphone settings. Do not make radical changes in the first place. A clean booting and new drivers should be used to guarantee good performance and eliminate the occurrence of the same audio or microphone issues a player may have when playing long hours.
You May Also Like
- Top 10 Best Gaming Headset
- Why Is SteelSeries Arctis Nova Pro Not Turning On
- How to Reset Razer BlackShark V3
- Is the Cooler Master MH752 USB Gaming Headset Good?
FAQs About How to Reset Cooler Master MH751 Gaming Headset
Conclusion
The Cooler master MH751 can be easily fixed by resetting it to correct sound distortion, microphone problems as well as sound problems with software. Through a cautious approach in every procedure, the user is able to revert default settings and remove conflicts that may interfere with the performance when playing games or communicating.
Once the reset has been done, it is best to verify all headset functions and maintain system audio drivers. This advantage is that proper maintenance makes the future breaches less likely and provides the same quality of sound. When properly configured and with a few troubleshooting, the Cooler Master MH751 will still provide reliable sound and comfort in daily gaming.