How to Reset Razer BlackShark V3 Pro
Learn how to reset the Razer BlackShark V3 Pro with simple steps to fix connection, sound, and performance issues quickly and easily.
Pros & Cons
Pros
- Sound quality balanced aur detailed hai
- Microphone voice chat ke liye clear hai
- Headset comfortable aur build quality strong hai
- Price ke hisaab se achi value deta hai
Cons
- Premium level wireless feel nahi deta
- Advanced audio features ki kami hai
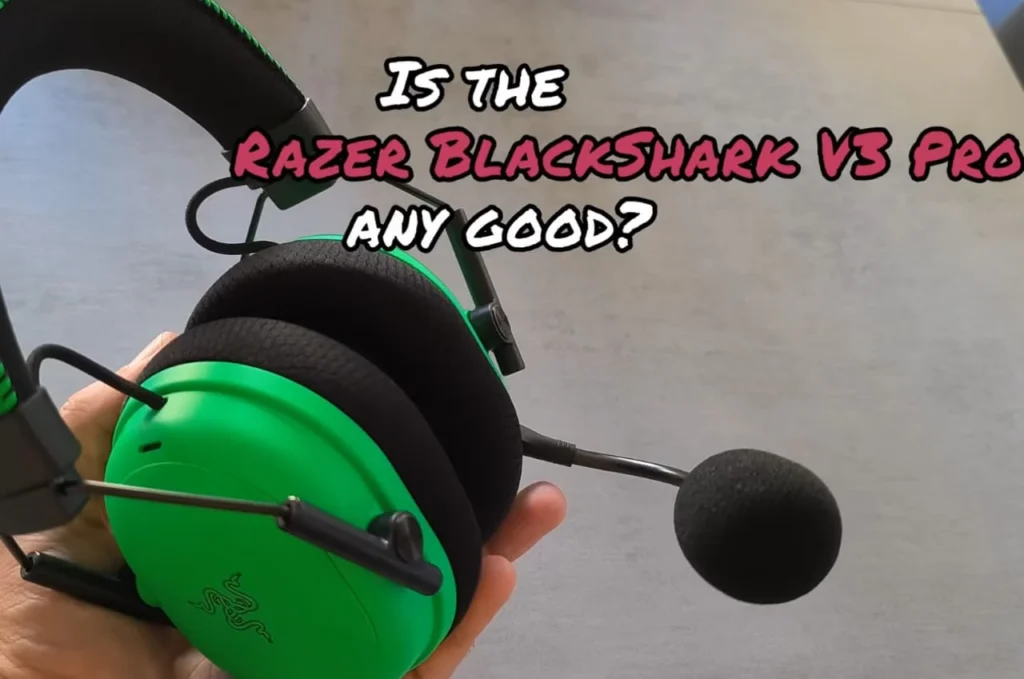
Razer BlackShark V3 Pro is a high-quality wireless headset in gaming that is characterized by the high-quality audio, comfortable design, and the best microphone in the industry. Nonetheless, it may occasionally malfunction like any other sophisticated product, which may be the loss of connection, sound distortion, or malfunctioning of the firmware. A simple reset can be the most effective and the least difficult thing to do in such situations. A reset will refresh the inner system of the device and will clear the temporary faults immediately.
When your pair of headset does not pair properly, constantly disconnects or some of the buttons are not responsive, a reset may fix the regular operation. The reset option puts the headset into a clean state and it can reconnect again to work properly. This tutorial shows how to safely do the entire process of a complete reset to make sure that the BlackShark V3 Pro is working back to its fullest potential.
Why Reset Your Razer BlackShark V3 Pro?
Connectivity difficulty is one of the most frequent reasons why the Razer BlackShark V3 Pro needs to be reset. There are occasions when the headset will not connect with your PC, PlayStation or Bluetooth device, or the signal will keep losing connection. A reset will reformat the communication modules within the headset, eliminating pairing issues and restoring a stable wireless operation. This is commonly applicable in cases where a mere restart fails to resolve the problem.
The other significant cause is associated with software or firmware glitches. Unsuccessful updates in Razer Synapse, broken audio settings, or the failure of THX Spatial Audio to be enabled are all indicators that the headset requires a reformat. A reset is necessary to correct the necessary internal settings, and prepares the headset to receive appropriate updates. It will remove corrupted setups and overall enhance the stability of audio and microphones in the future.
Step 1: Turn Off the Headset
It is important to ensure the headset is off before initiating the reset process. The shut down is confirmed by pressing the power button until the LEDs are switched off. This is necessary since one might be trying to reset it and fail to apply the internal reset in the correct way by trying to reset it when the headset is partly active. When the device has completely been switched off, then you can proceed safely to the next steps of resetting without any interference.
Waiting a few seconds after switching off is also advisable. The brief break will give more time to force internal components to empty themselves out, resulting in a smoother reset. When you use the headset many hours playing games, this temporary cooling effect will keep small amounts of memory accumulation to a minimum, and the general responsiveness will be better after the re-boot. A clean shutdown is done to ready the headset to reboot again.
Step 2: Disconnect All Connected Devices
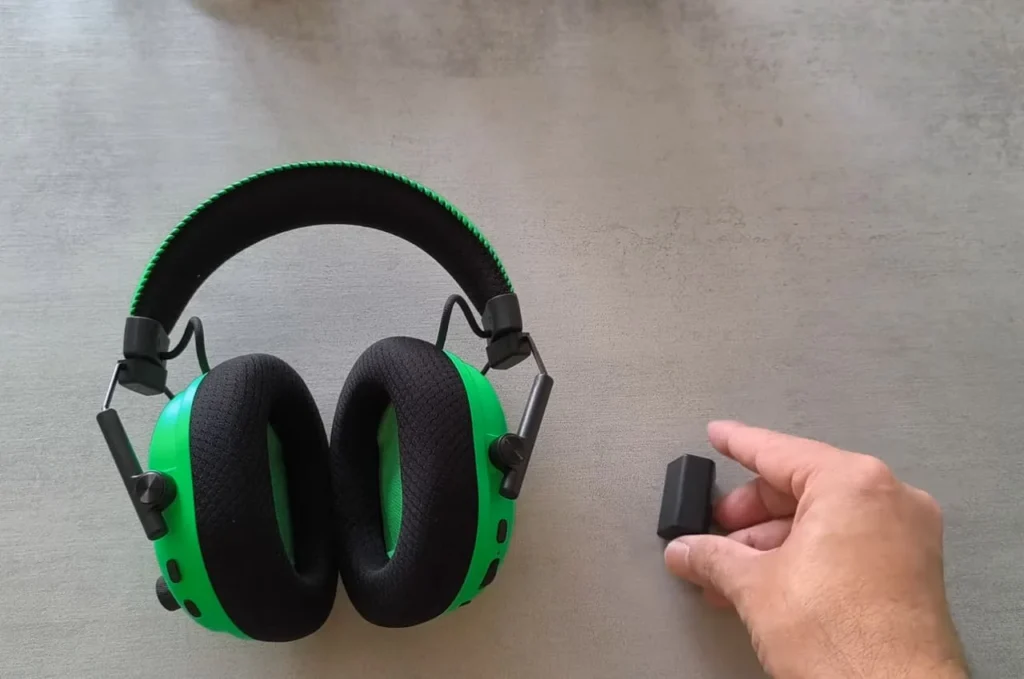
In the event that you are using a wireless dongle, Bluetooth pairing, or a 3.5mm cable, disconnect all of them in the meantime. Disconnect the dongle off your PC or console and switch off Bluetooth on the device you are connected to. The importance of this step is that an active connection attempt may disrupt the reset procedure. The internal pairing memory is well restored when there is a disconnected headset.
With no connections, then there are no conflicts possible with any pairing. In other cases, the headset will attempt to reconnect to a device that it had been paired with previously in the reset, which will interfere with the process. Unplugging the peripherals will help the headset to remove previous pairing information and will be ready to reconnect again. This step has been found by many users to have a significant positive effect on wireless stability.
Step 3: Press and Hold the Reset Button
In order to restart the Razer BlackShark V3 Pro, one has to press the power button and hold it for 15 seconds. During the holding, you might find blinking LED indicators, which mean that the headset is in reset mode. One should press the button long enough as a brief press will merely go into restarting the headset whereas the longer press will do a complete reset of internal settings.
Fifteen seconds later, press the button again and enable the headset to restart. The blinking will cease after a short time and this means that the reset is finished. On success, the headset obliterates the old pairing data and reinstates default communication modules. This is done to fix the majority of audio dropouts, pairing failures and system glitches that users encounter during their daily gaming.
Step 4: Reattach and Test Headset
After the reset has been completed, reconnect the headset back to your wireless dongle or Bluetooth device. Carry out the pairing process as usual and ensure that the headset is recognized. Once connected, check the audio output and the microphone as well as THX Spatial Audio. These tests will be used to ensure that the reset has been done and the headset is functioning properly once more.
When testing, ensure that there are no audio interruptions, delays by the microphone, and problems with the response button. Should issues persist, then reinstallation or updating Razer Synapse could be used to eliminate any residual software issues. A full reset test to verify the headset is back to its stable working state will provide you with a better experience in gaming as the headset will be stable during the whole gaming.
My Personal experience
As my headset had begun to malfunction with the disconnection occurring at random and bizarre audio collapses, I chose to re-boot it. I did the simple reset steps and I was truly astonished at the quickness of it. It was easy to press the right buttons several seconds, and after the headset rebooted, it resumed connection. The interrelationship stabilized and the sound balance came to normal in no time.
The difference was felt after the reset. The mic clarity was better, the latency problems were eliminated, and the overall performance was renewed, similar to the first time of using the headset. I did not require additional software adjustments and troubleshooting later. In my case, it is a simple and effective solution to reset the device, and only then starting to suspect the hardware or changing the headset- particularly when you use the Razer product on a regular basis.
Tips Care Table
| Tips | What To Do |
|---|---|
| Power off headset | Hold power button until fully off |
| Disconnect dongle | Unplug wireless USB dongle |
| Soft reset | Hold Power + Volume Up for 10–15 seconds |
| Reconnect dongle | Plug dongle back into PC or console |
| Re-pair headset | Select headset again in audio settings |
Optional: Reinstall Razer Synapse Software
In case the basic reset fails to correct all of your problems, you can use a full system refresh by reinstalling Razer Synapse. Enter the Open Synapse and use the options of Restoring Factory settings to reset higher options. This is particularly helpful when equalizer profiles, mic settings or firmware updates are malfunctioning. It makes sure that all the corrupted software files are substituted with clean files.
Reinstalling Synapse is also useful to make your headset compatible with the new drivers and new firmware. This is a step that works especially well with PC users who are dependent on such advanced features as THX Spatial Audio. Once the headset has been reinstalled it usually works more reliably and is more sensitive to customized settings. It forms a useful last step in fixing nagging configuration problems.
You May Also Like
- Top 10 Best Gaming Headset
- Is MSI Immerse GH70 Wireless Good
- Is Turtle Beach Stealth 600 Gen 2 Good
- Why JBL Quantum 800 Not Turning On
FAQs How to Reset Razer BlackShark V3 ProAbout
Conclusion
A fast and dependable method of curing a connection, audio, and software-related problem is resetting the Razer BlackShark V3 Pro. With the help of this guide, you will be able to restore your headset to a fresh and stable condition, which guarantees a more comfortable performance in the course of the game. Periodic resets may also contribute to the long-term stability of the device in case you are a heavy user.
Once the reset is completed, it is important to check firmware updates, pairing settings, and software settings to keep the performance at its best. By keeping the Razer Synapse up to date and ensuring the correct charging habits, it will be possible to avoid future issues. Following these measures, you will be able to experience your Razer BlackShark V3 Pro without delays and keep its high-quality functioning in the long-term perspective.